

Welcome to Borg Steam factory.
This is going to be my personal space for images related to CNC for now. Later this should blossom into a more comprehensive location for finding CNC related products and services related to Borg Steam Factory.
Copyright 2008-2009 Borg Steam Factory Inc. All Rights Reserved.

Featured Artists
Latest News !
Check out the links page to go to Vinny's goggles and such!
New news and a new site!
FORUMS NOW UP!
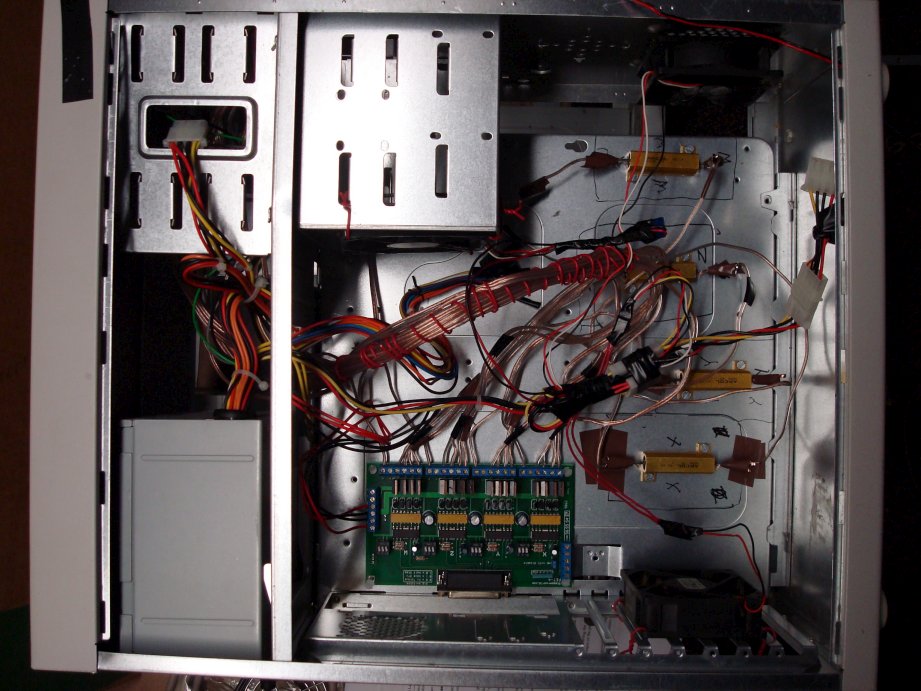
Space below reserved for more picture to come
\/-\/-\/-\/-\/-\/-\/-\/-\/-\/-\/-\/-\/-\/-\/-\/-\/-\/-\/-\/-\/-\/
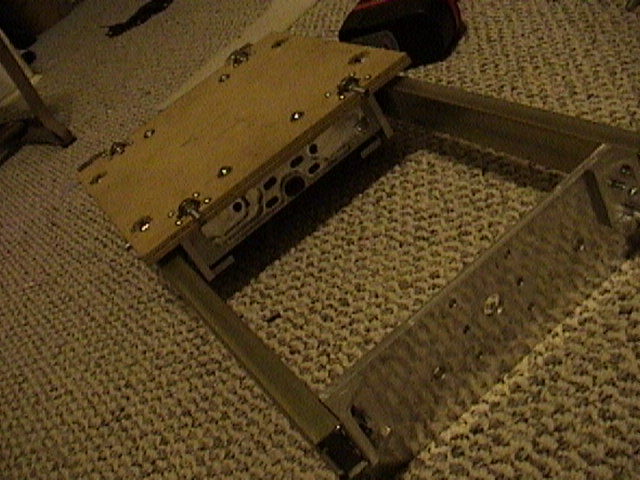
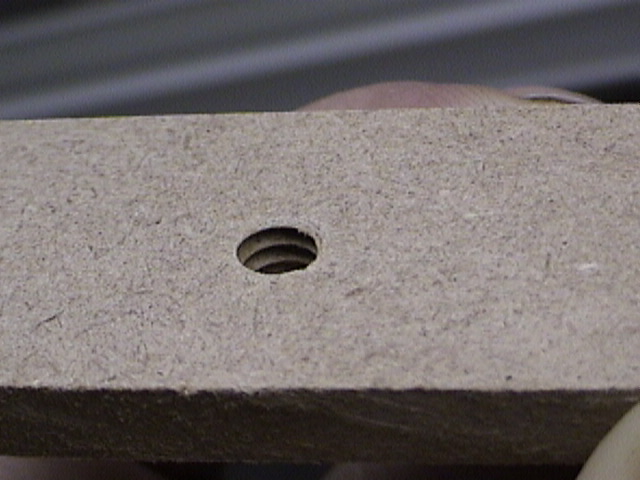
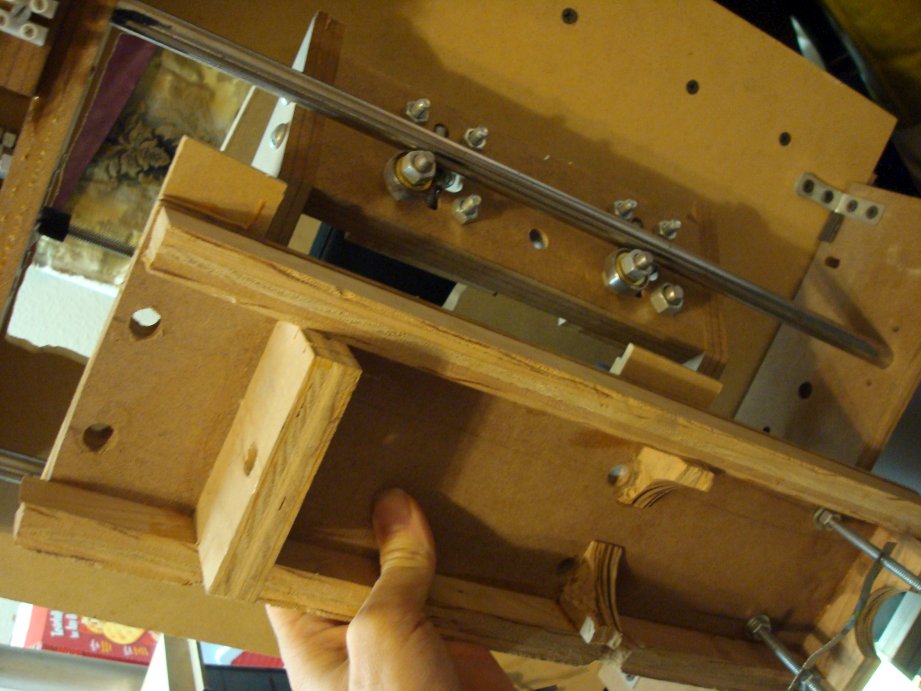
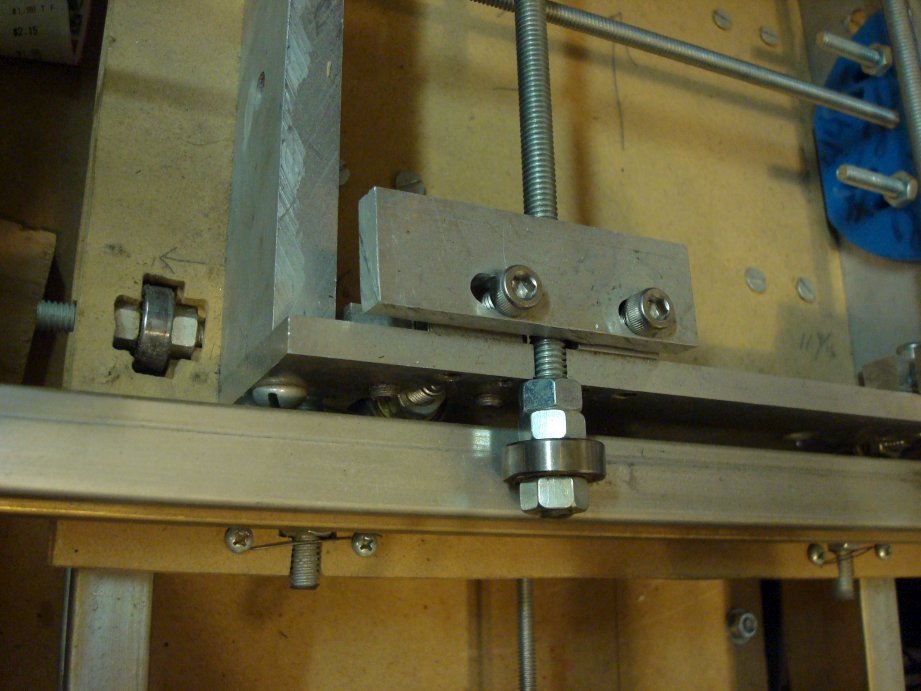
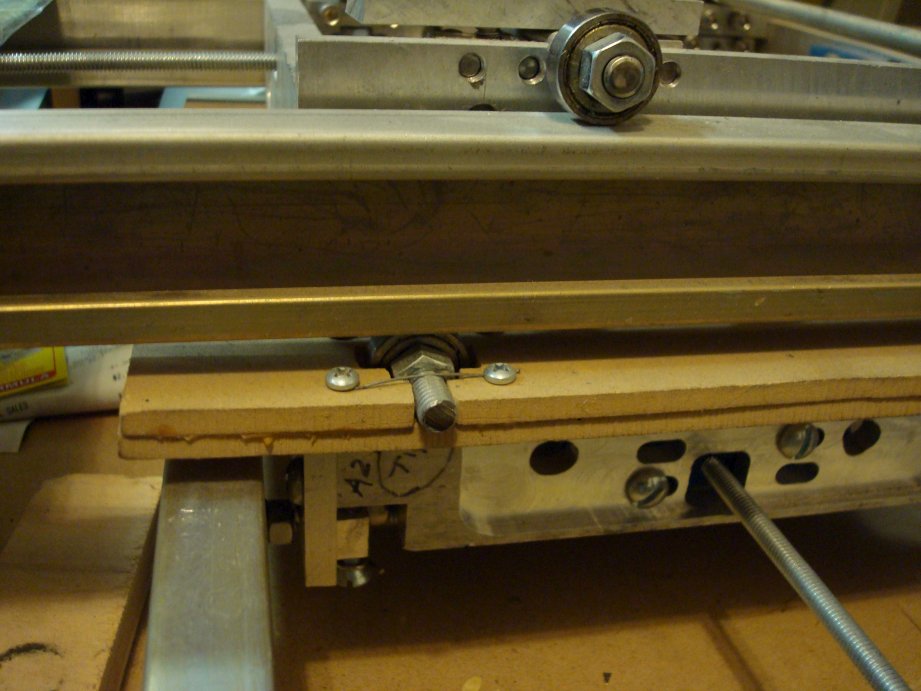
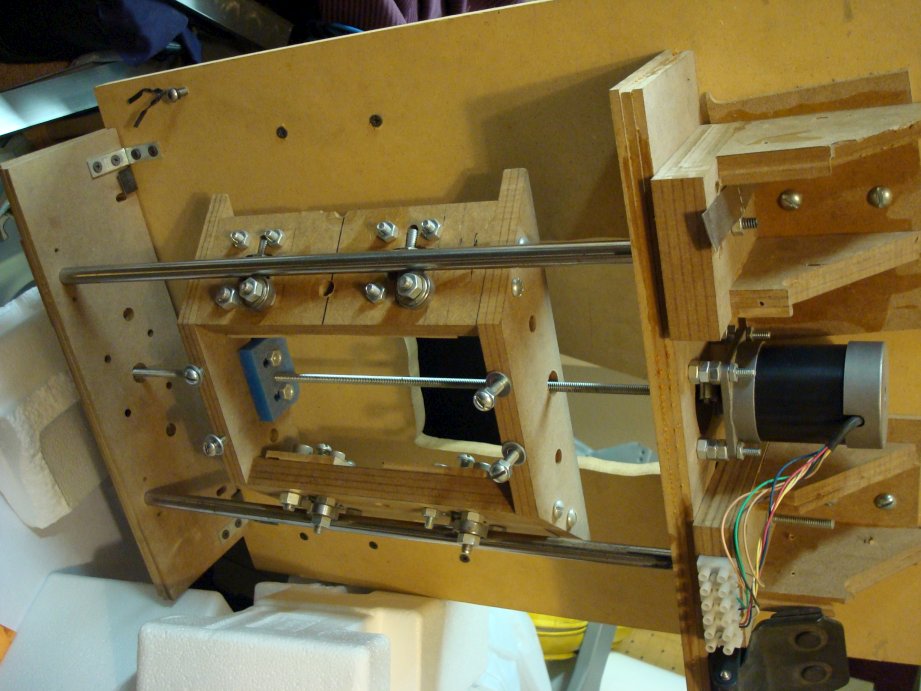
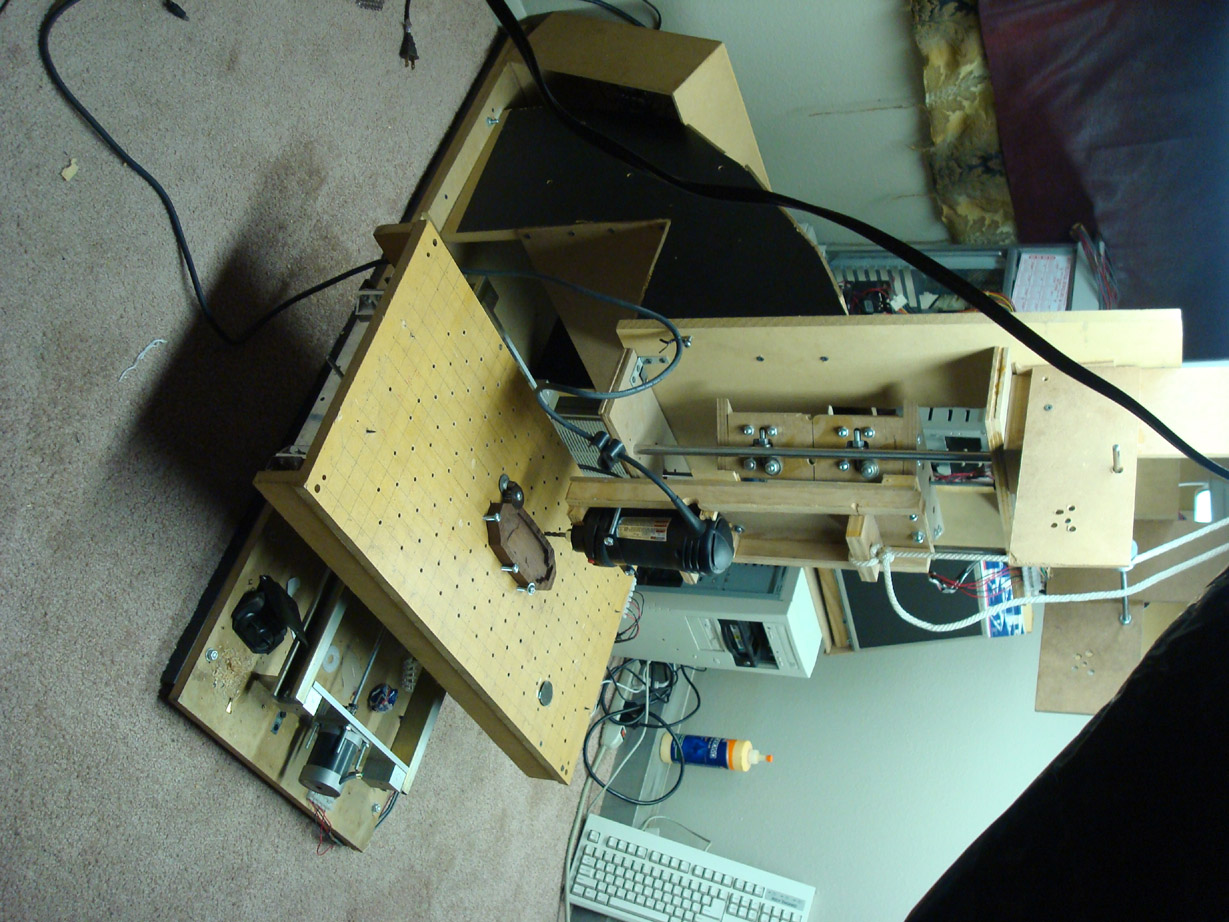
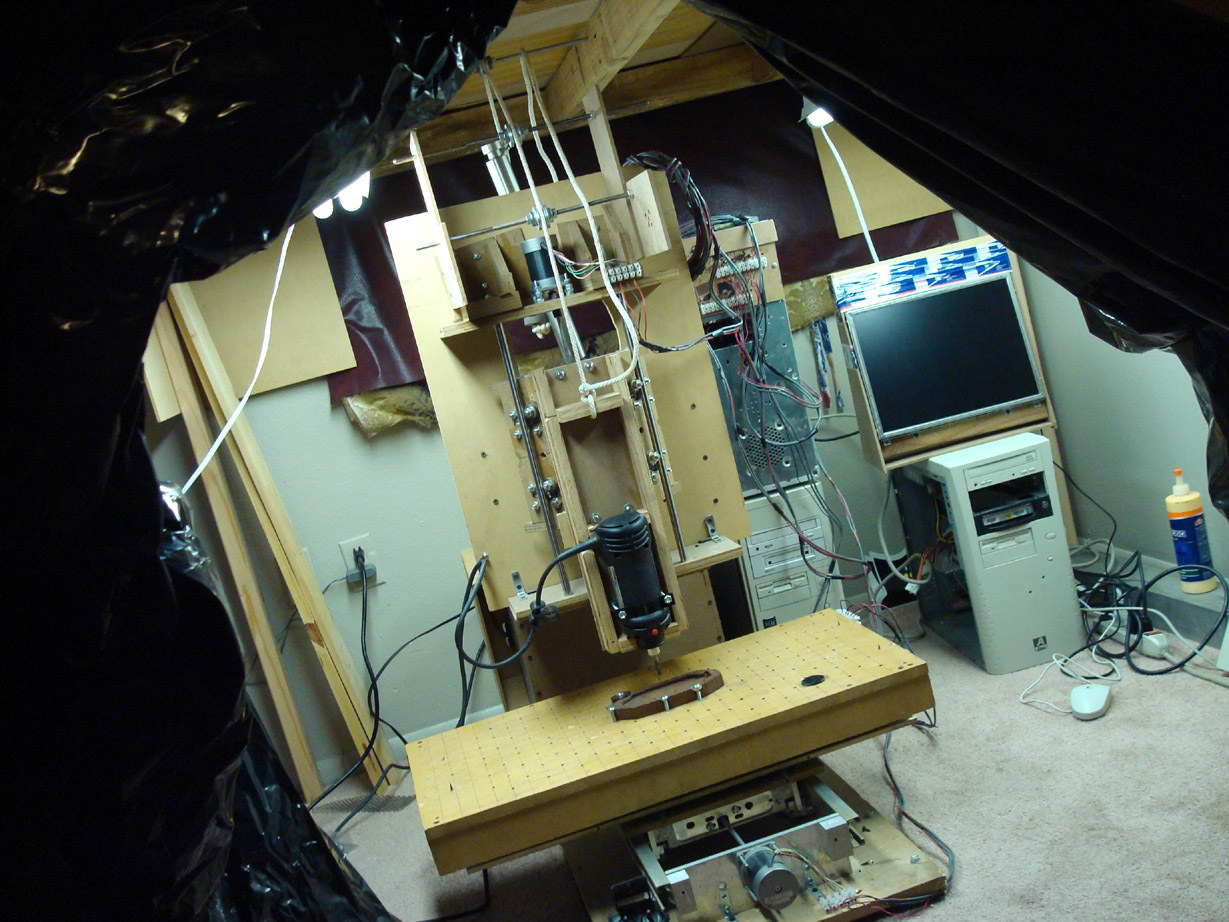
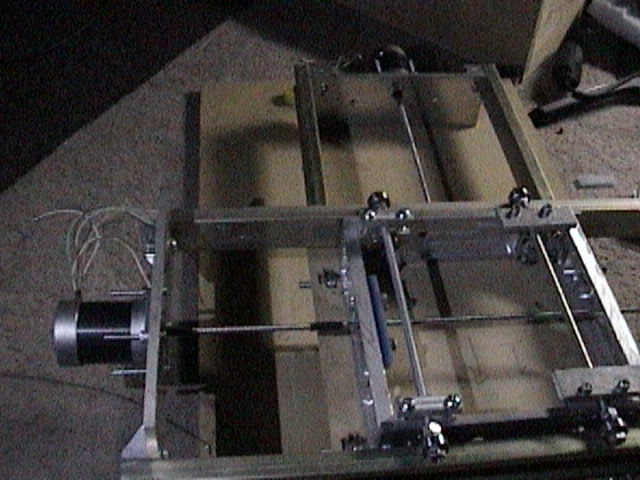
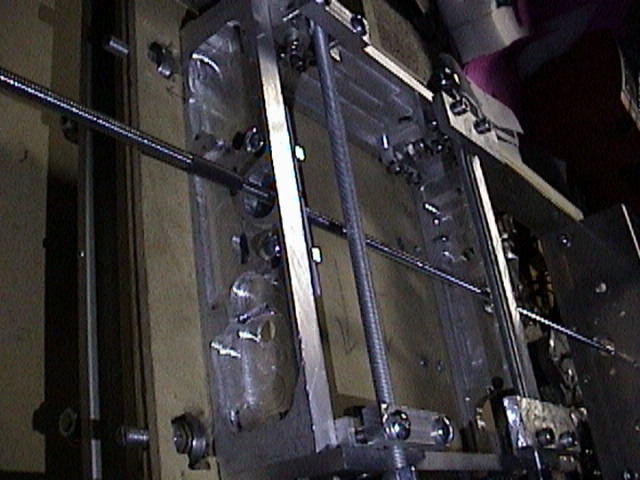
yes that is a piece of MDF board that has a threaded hole. hole is a 1/4 inch 20tpi hole and it works most excellently. so I used that to make the entire bed rather than the standard Tslot design most real mills have.

video of mill working complete with creepy sound scape behind it.
voices of Houston Tiger and The Architect.
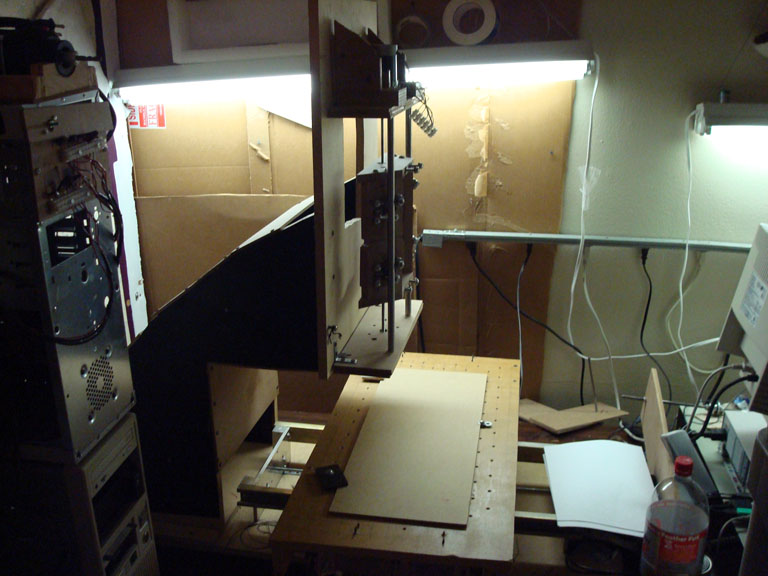
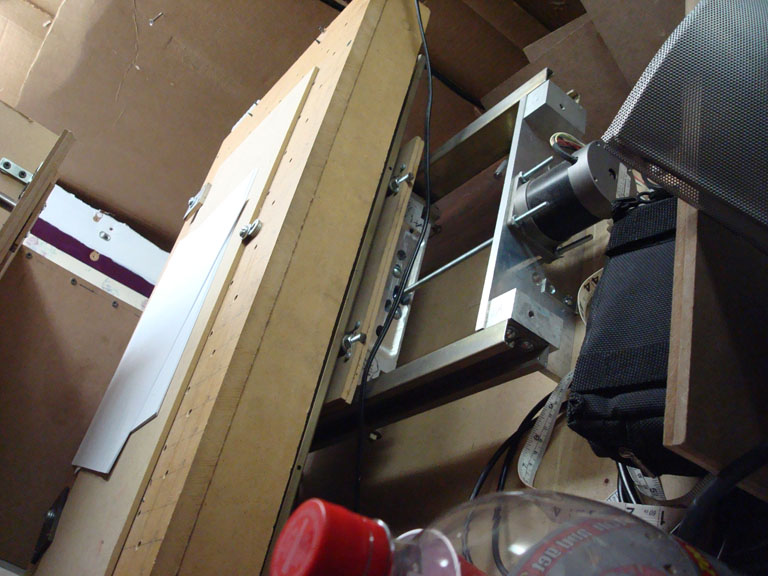
Below are some videos of both the mill in action and some renderings to help identify the inner working of it. Enjoy and feel free to send comments to me by using my contact page
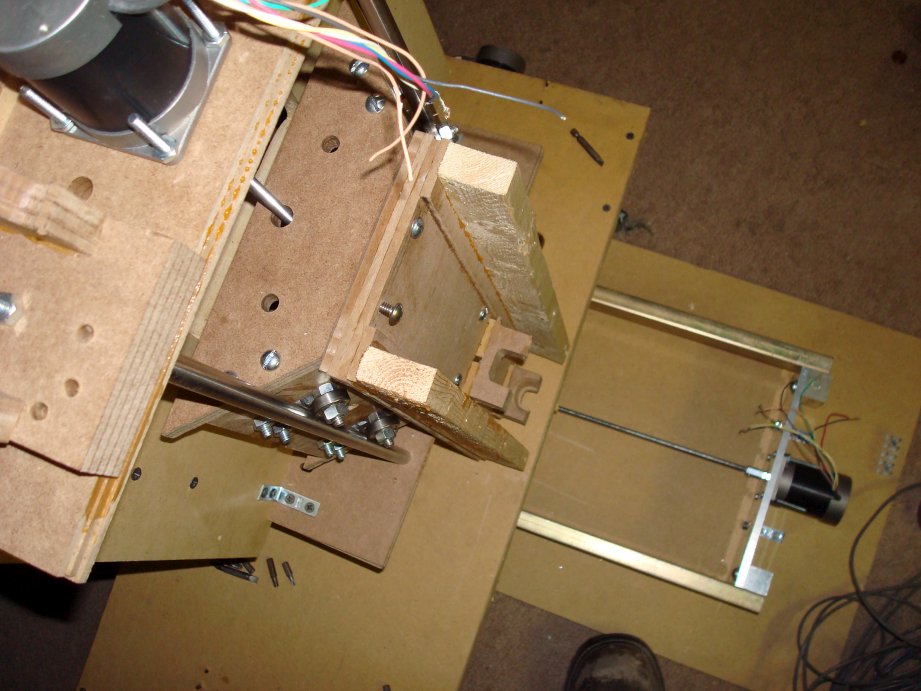
This is the most accurate representation of my z axis design used. simple and adjustable to make up for any flaws in building and construction.
This empty space is reserved for more videos. to see the pictures scroll down past the empty area.
at some point I will be building a handle type part like the Foredom hand piece 44T that will incorporate the Rotozip's elegant simple design of collet in order to assure the bits are centered and have as little run out as possible. along with this upgrade will be a size upgrade. when I have those pictures will go down here.
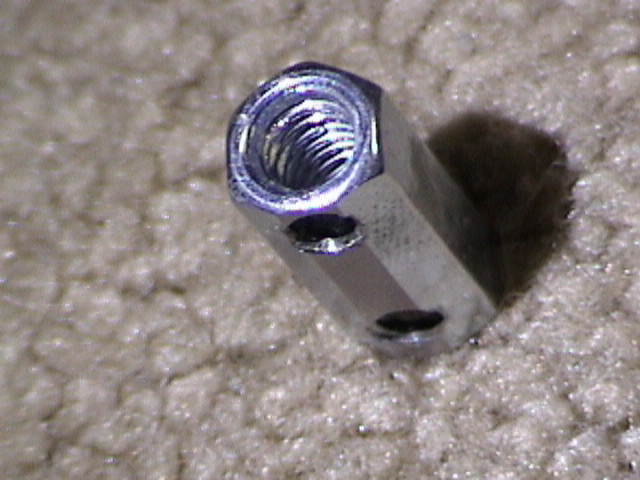
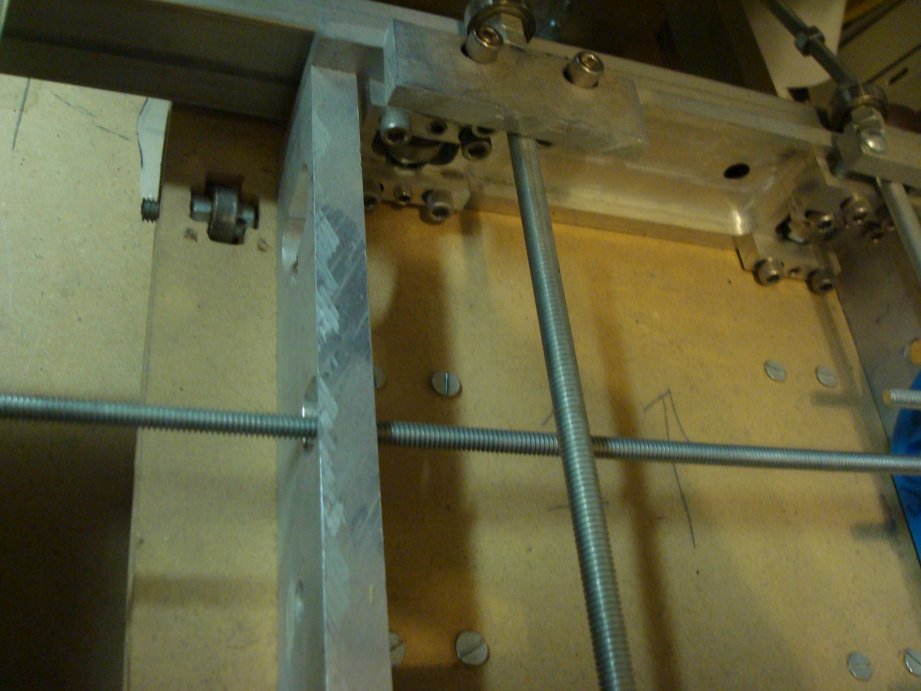
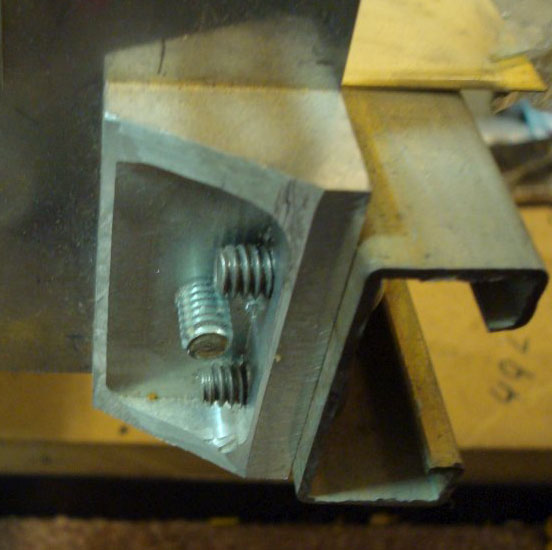
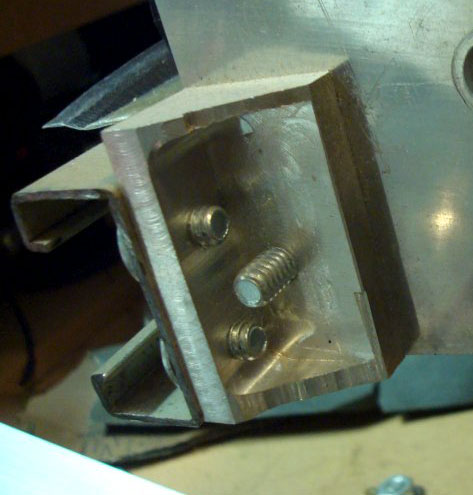
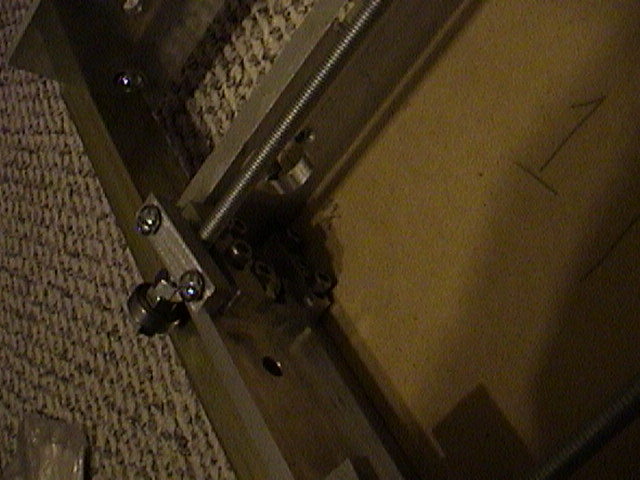
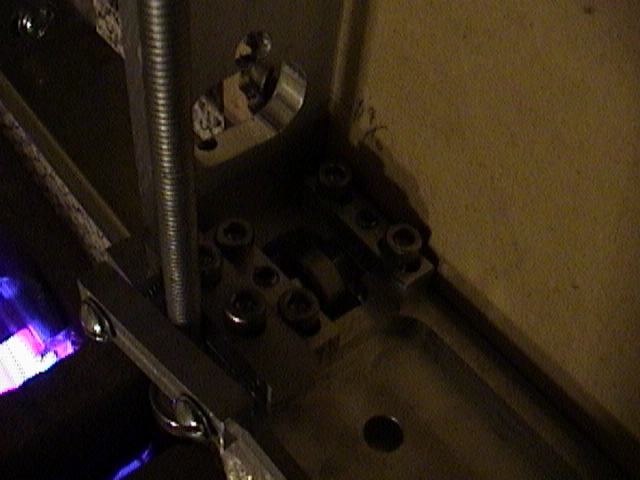
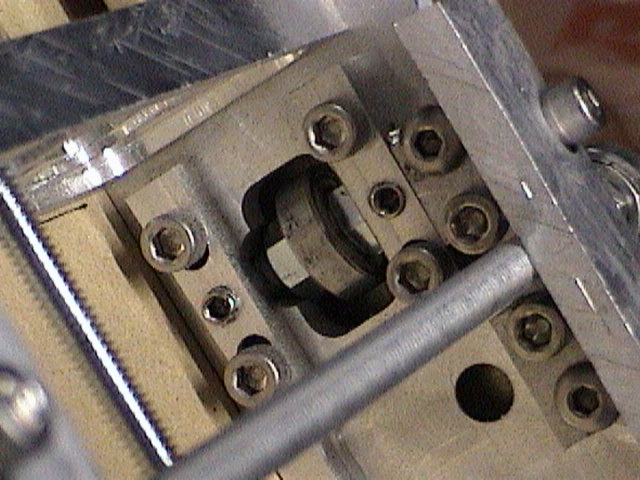
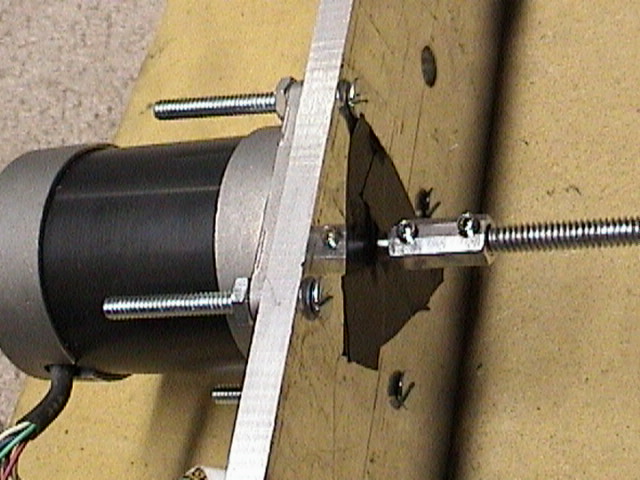
This was a lot of work and was not a very good idea. to stout to allow for the slack in the internal threads. to make it work one would have to have a unit long enough for 4 screws where you see 2 and there would also have to be another 4 of them on 2 more of the remining 5 sides of the nut to allow for a triangulation of the rod and the motor shaft so you could adjust till you have a perfect straight through connection. so I used a piece of some sort of pressurized hose from a car to make this connection and a thin sheet of steel shim wrapped around everything before using hose clamps to hold it all down. the rod had a flat section already so I flattened another side of it and now it works perfectly. the thing can flex as it needs but the connection is unable to turn one side with out the other being twisted at the exact same time and with plenty of force to make the mill GO! heh heh
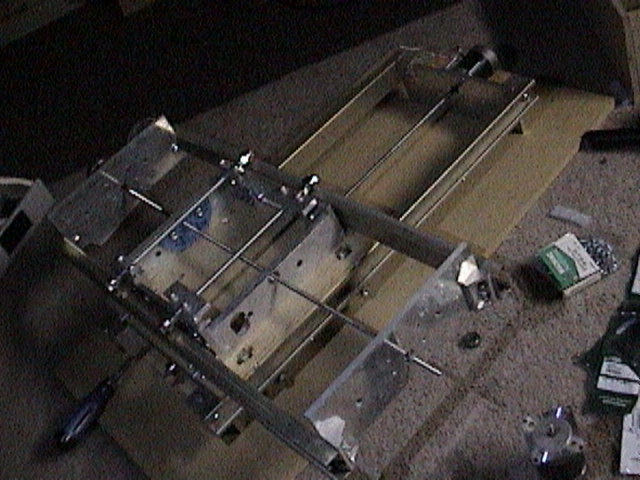
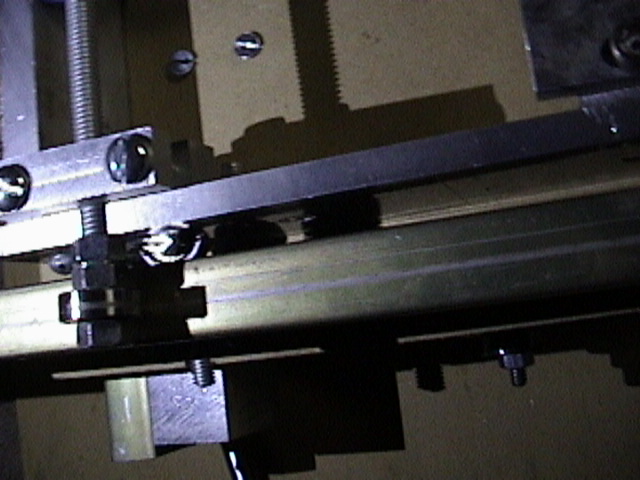
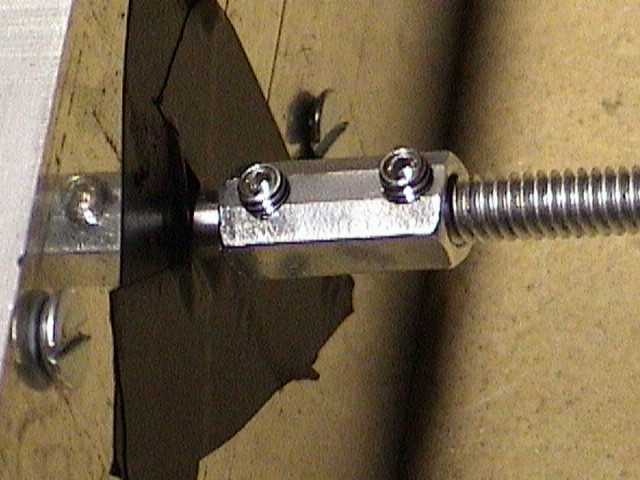
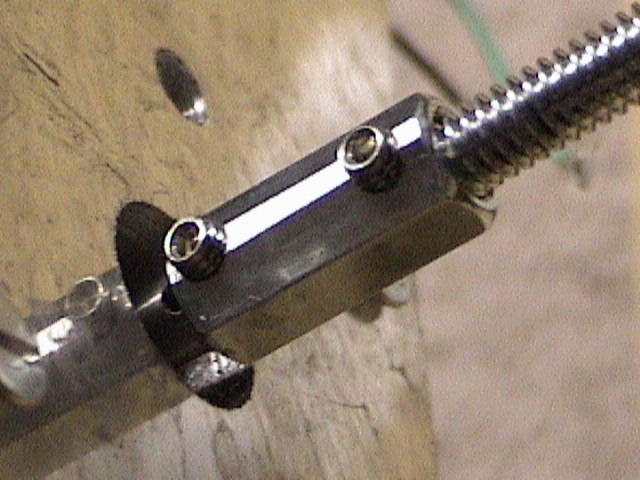
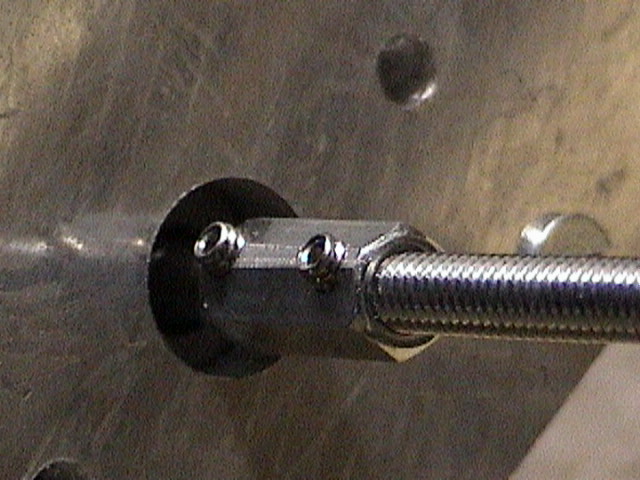
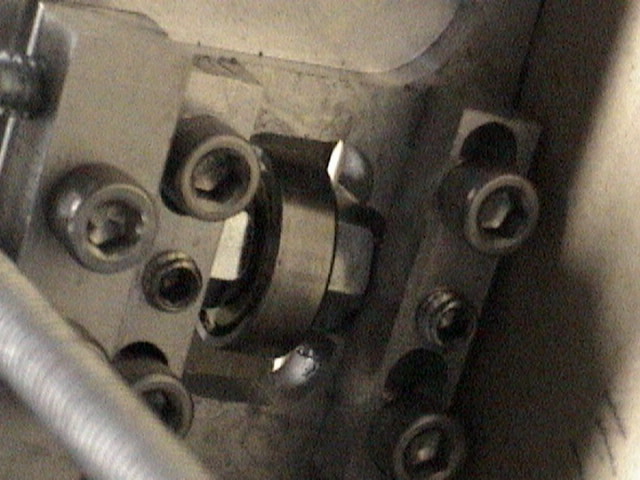
more shots of the bad idea in action. as I said it would work if you use two screws per rod and have 3 sets of them coming in from an equalateral design. (like the corners of a triangle.) but it would probably also need constant adjusting. and the design I went with has held up after several years with no changes and is still as tights and solid as it was the day I put it together!
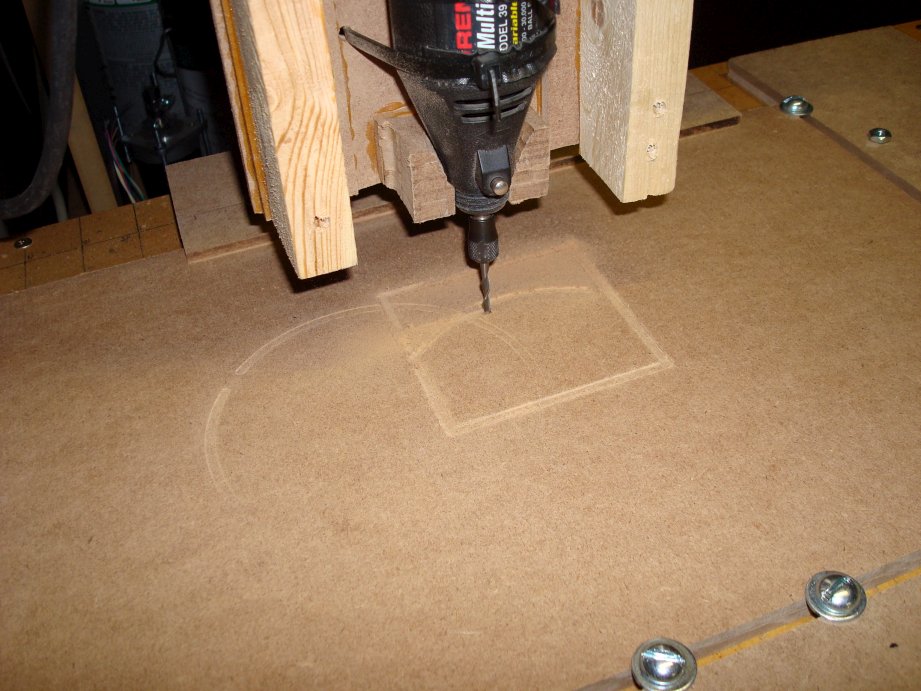
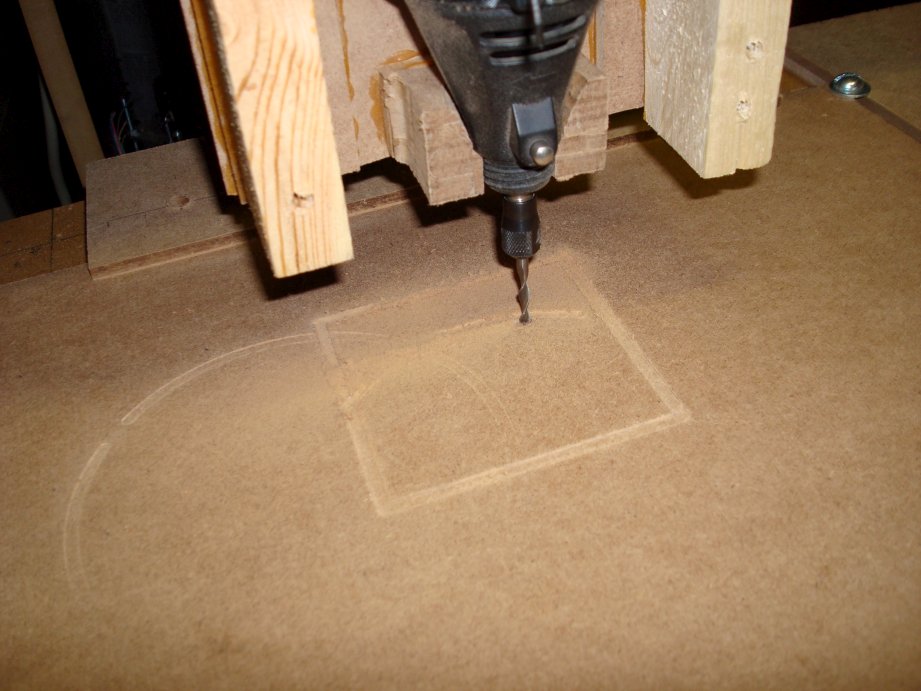
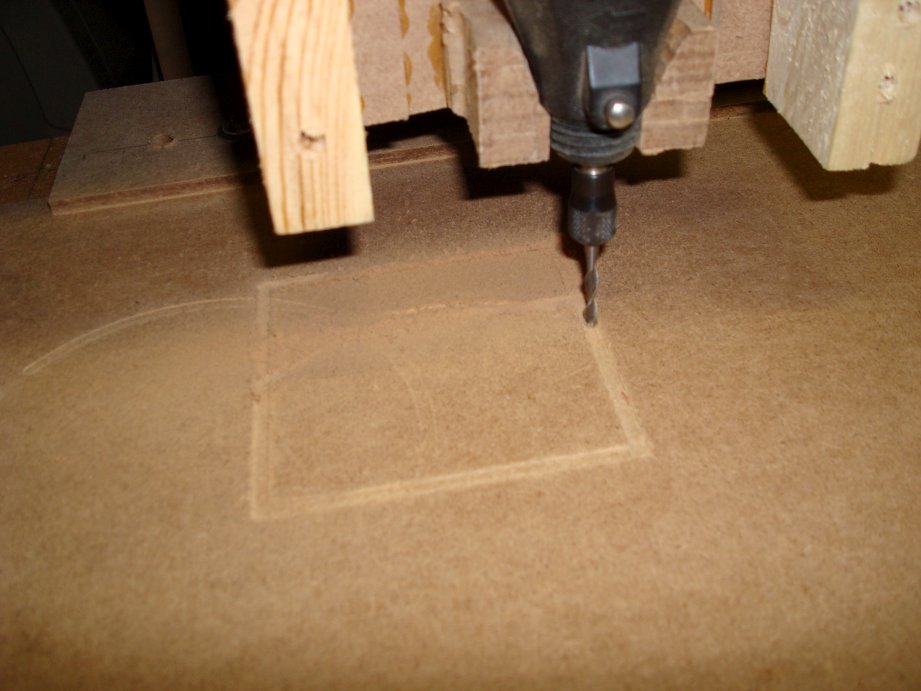
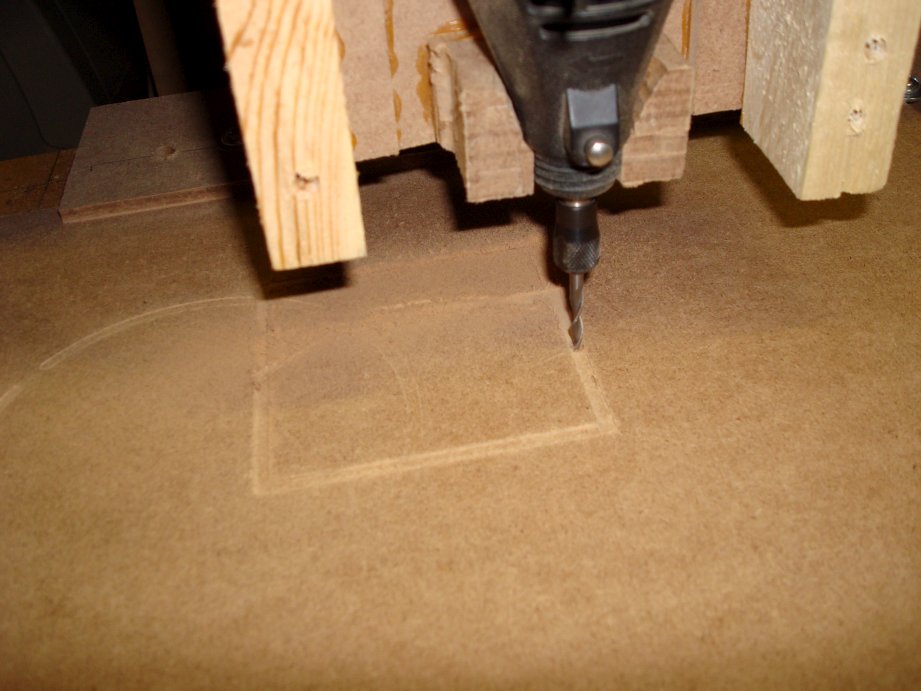
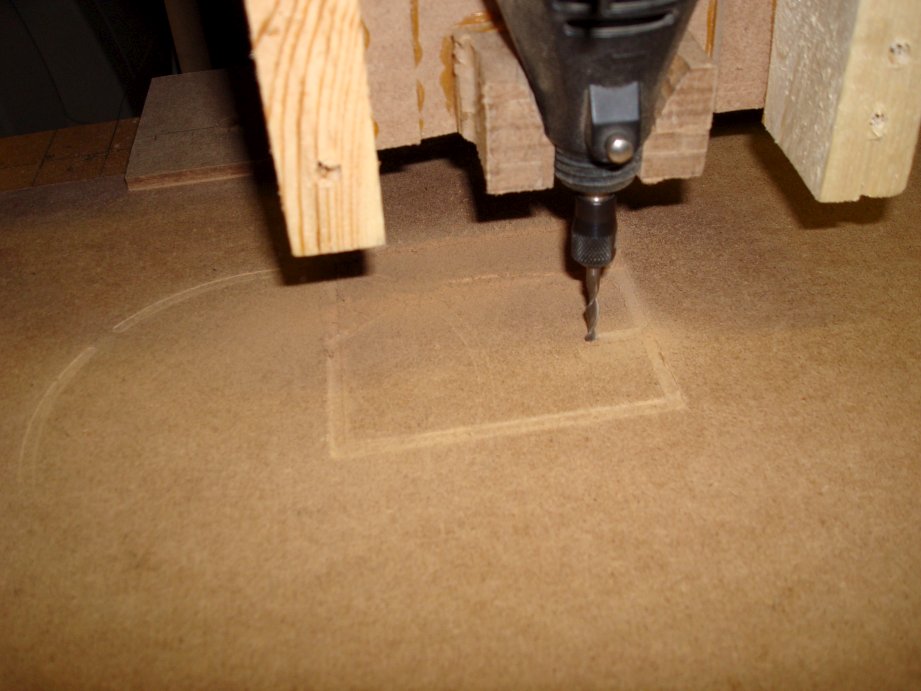
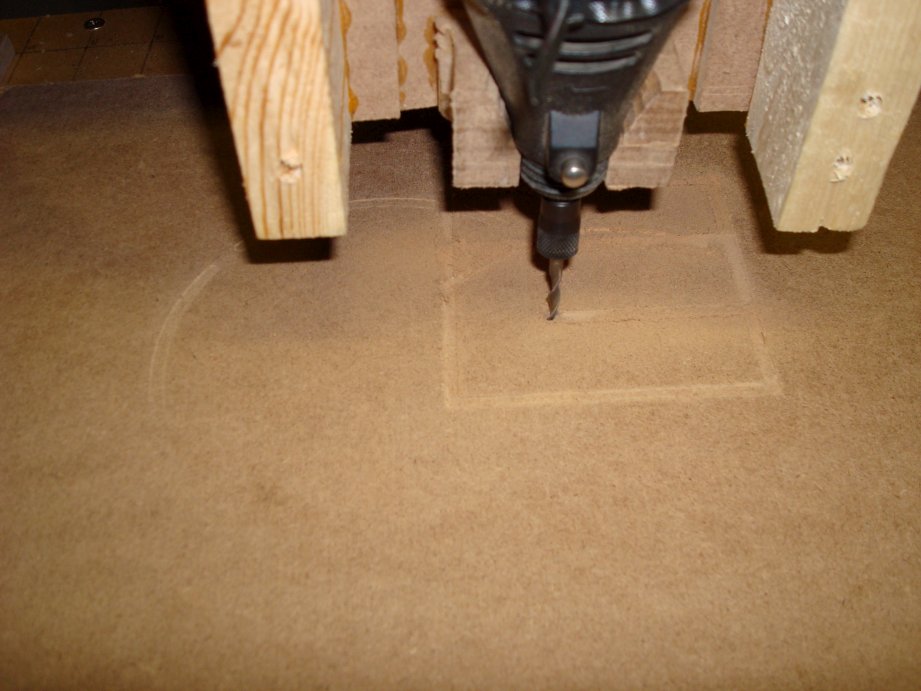
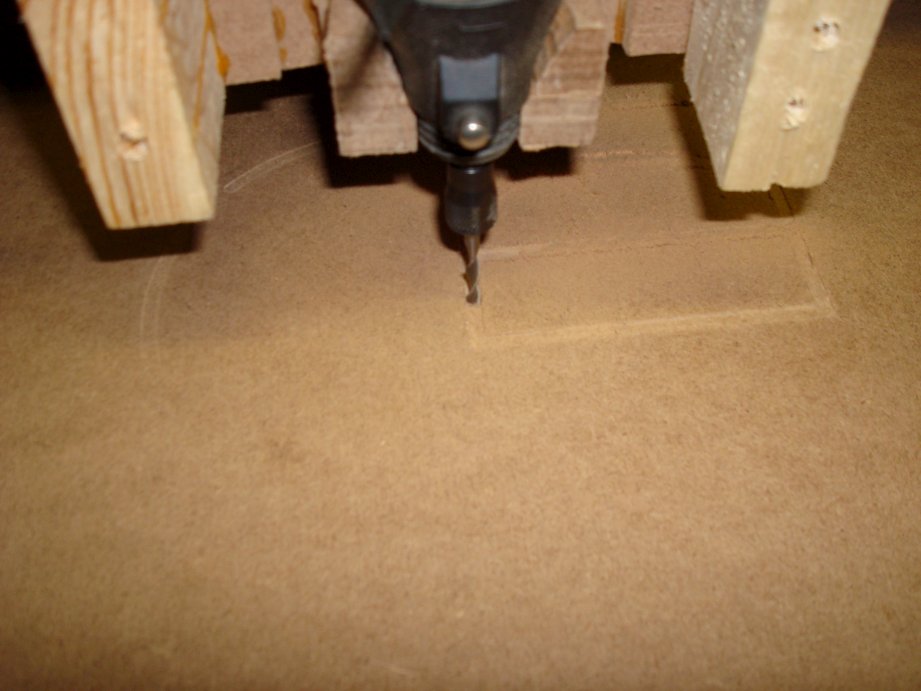
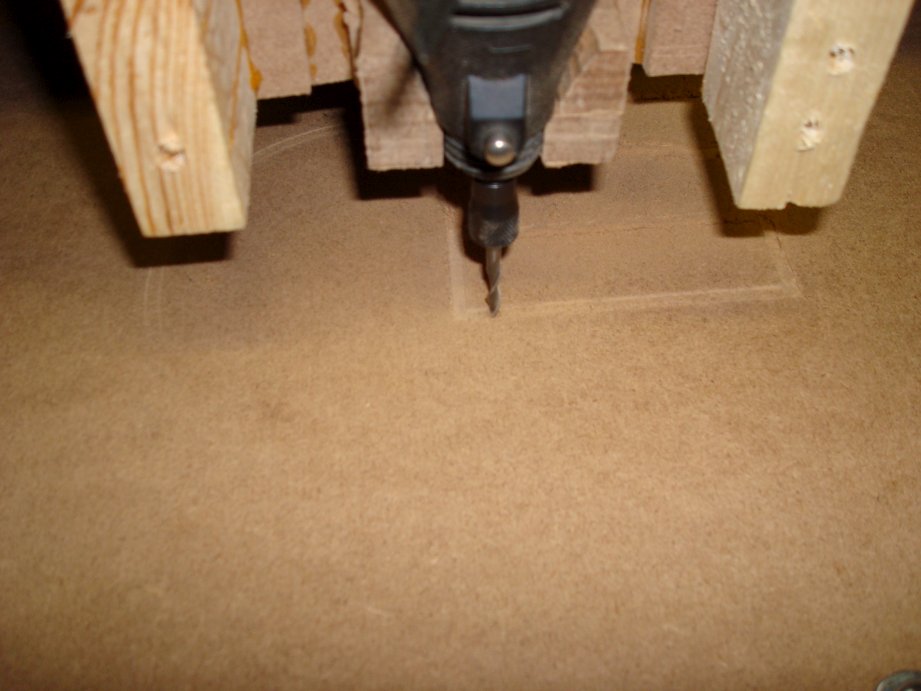
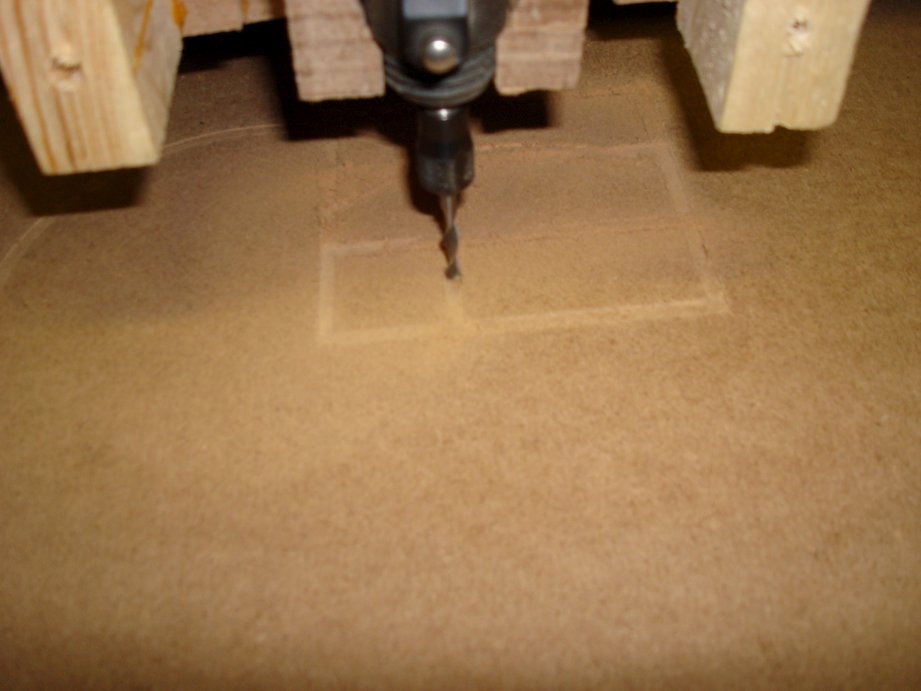
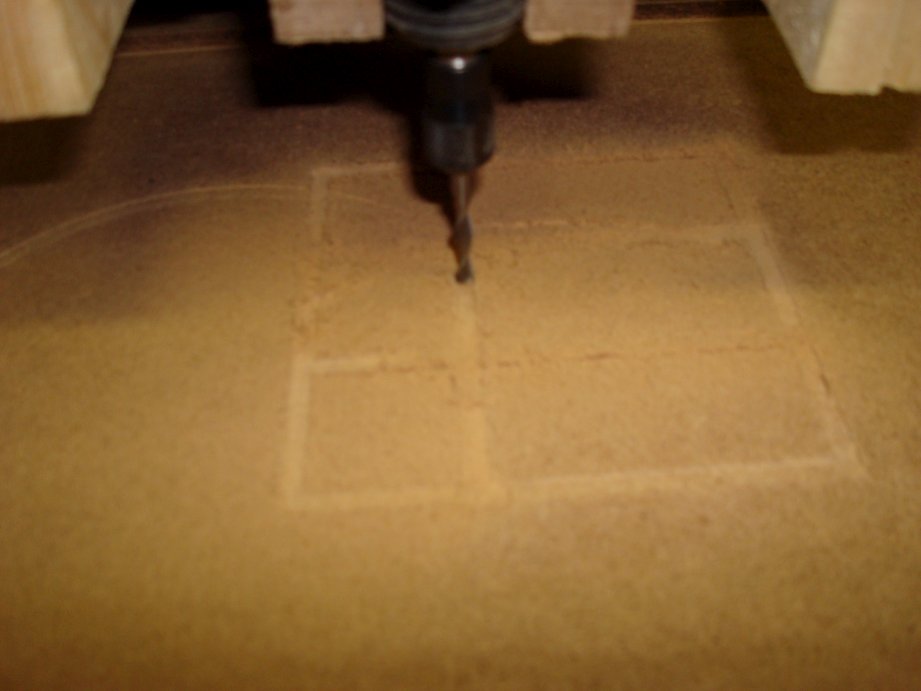
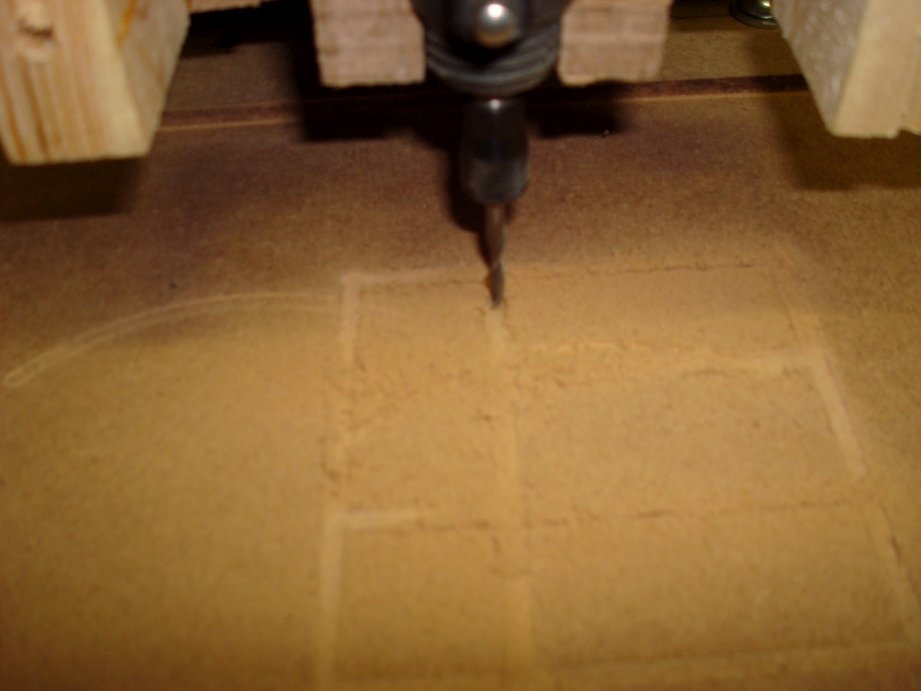
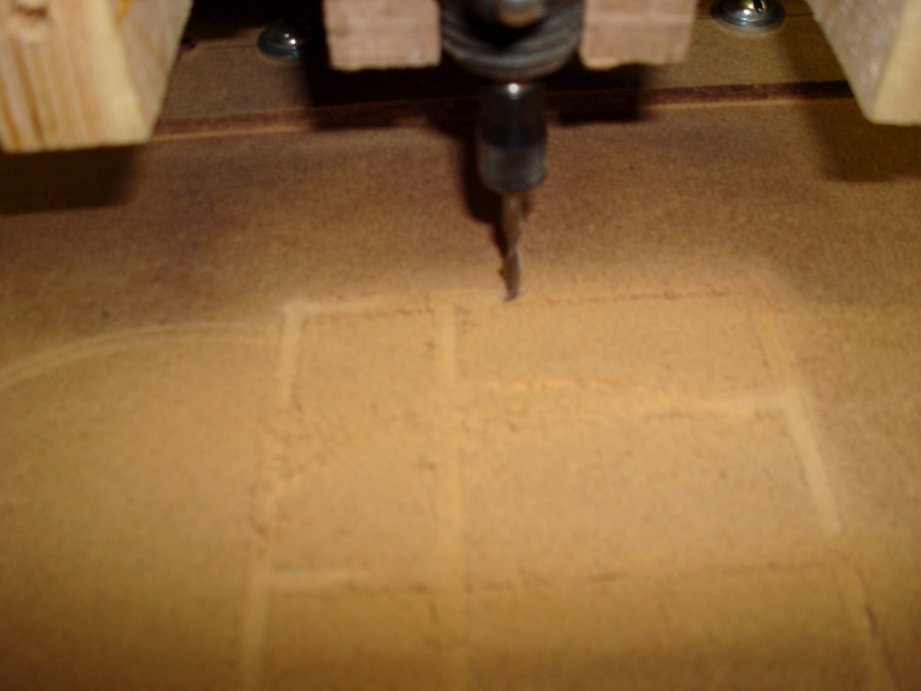
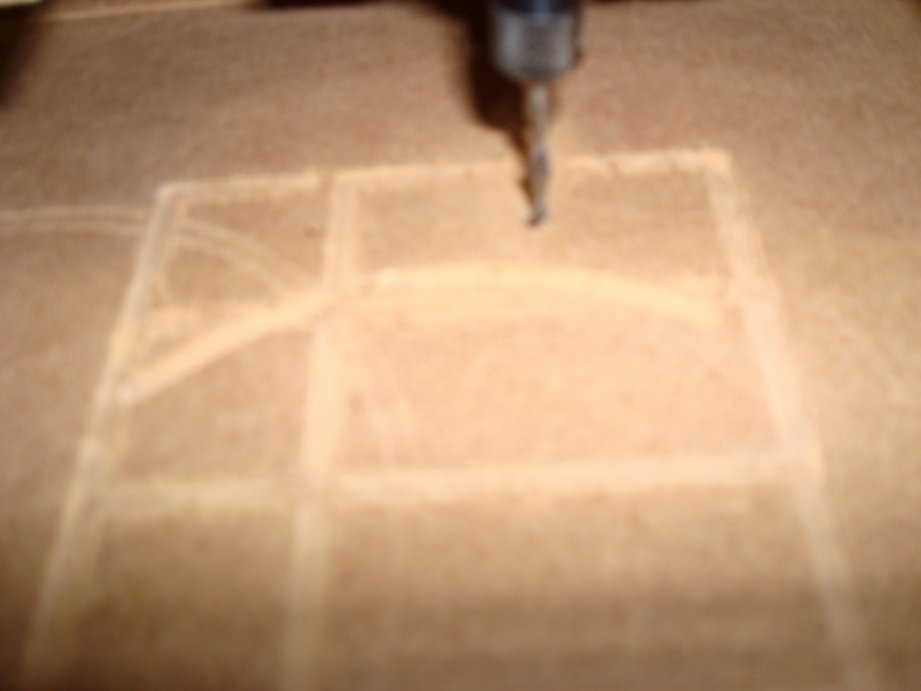
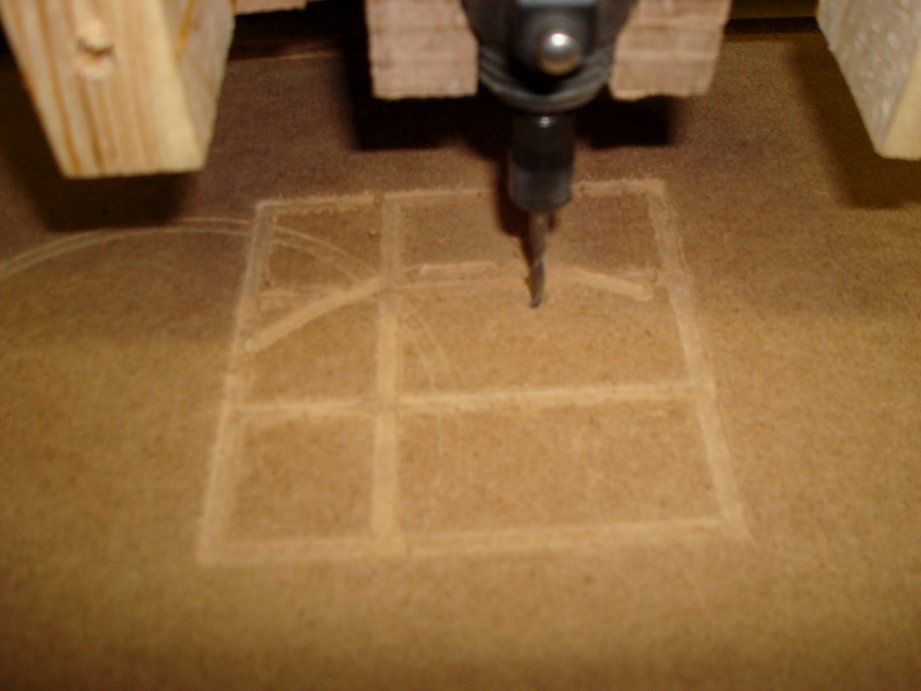
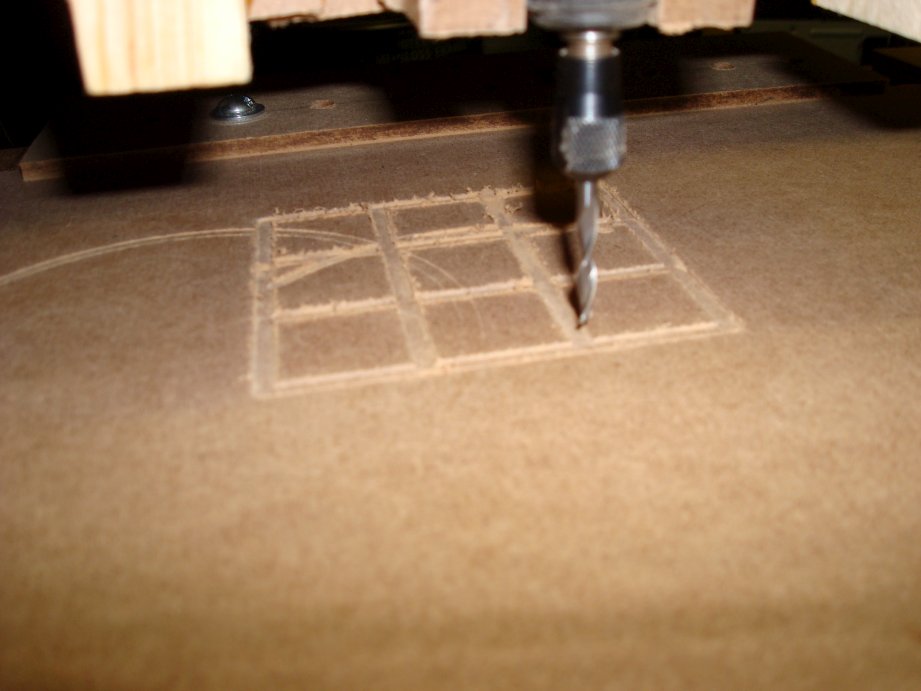
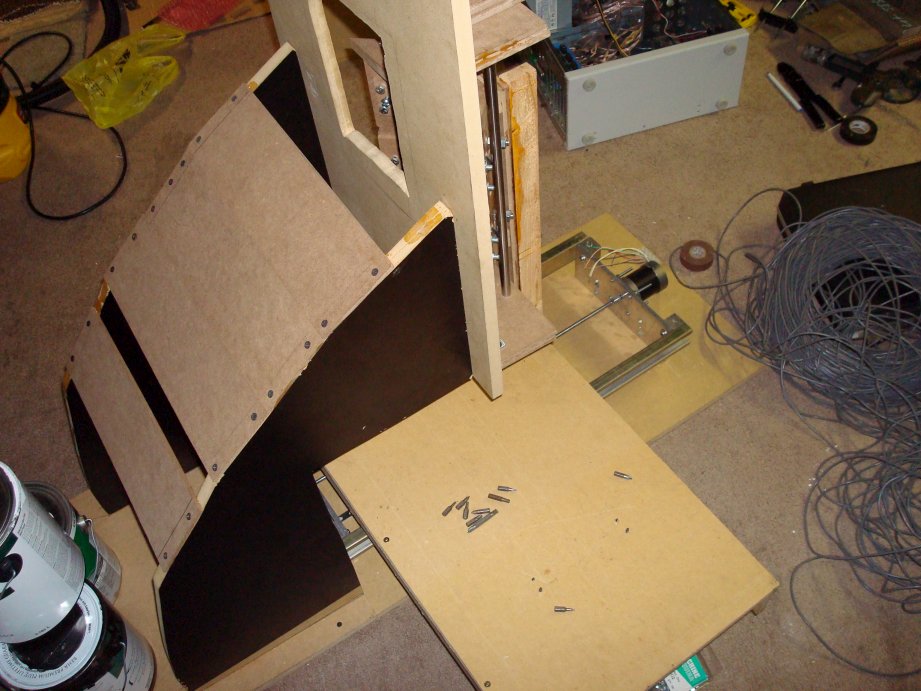
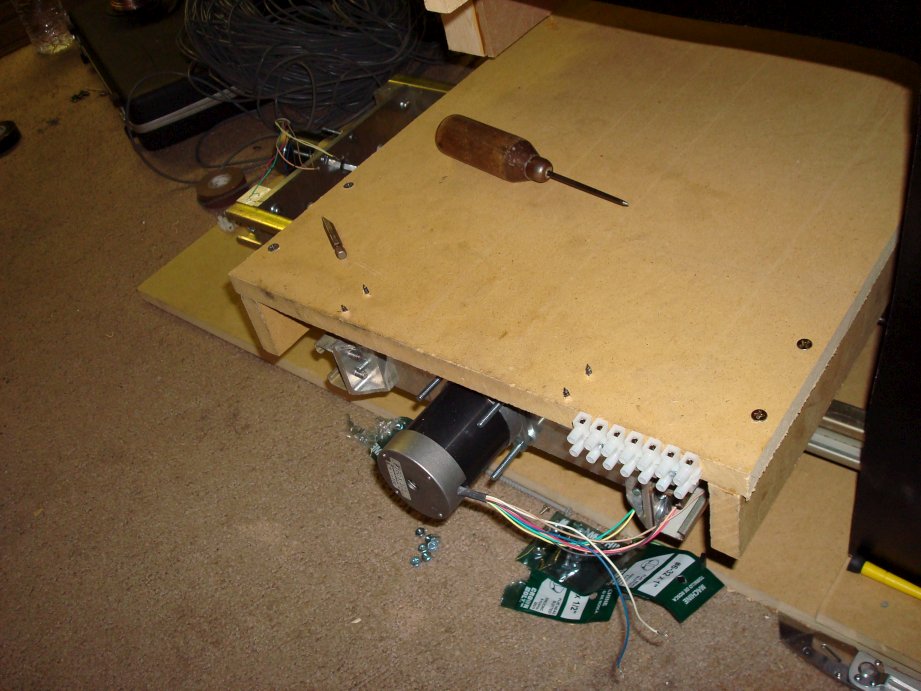
baby's first steps. I think these are the only pics I have of when the dremel was mounted to it. CAUTION! if you use your unit to mill on MDF and do not use a vacuum system to remove the dust it WILL get in the bearings of even a sealed bearing tool and kill it. I learned this the hard way. that dremel in the pictures is dead due to it.
also the lesson of the circles is to always check to make sure your mill is in the proper mode. do not program it to run in absolute mode with out checking to make sure it is not in incremental mode ;)